Can you get a bacterial infection from a night guard?
How often should you clean it?
Can you use toothpaste?
Why does my night guard smell?
Can you use mouthwash?
If you search “how to clean a night guard” you’ll find broadly consistent advice — rinse, brush, soak — alongside some genuinely contradictory claims about what to use. Can you use toothpaste? Some articles say yes, some say no. Vinegar? Mouthwash? Hot water? The conflicting advice exists because most articles repeat what sounds reasonable without explaining why each rule exists.
This guide resolves the contradictions. Every instruction here comes with the reason behind it — which makes the routine easier to remember and easier to stick to, because you understand what you’re actually preventing.
Why Night Guards Get Dirty — and Why It Matters
Your mouth contains roughly 700 species of bacteria. During the 7–8 hours you wear a night guard, saliva deposits a continuous film of bacteria, proteins, and minerals onto every surface of the appliance. This film doesn’t just sit there — it organises into biofilm, a structured bacterial community that adheres to the surface and is significantly more resistant to cleaning than unattached bacteria.
Biofilm on a night guard contains the same organisms found in dental plaque: Streptococcus mutans, Porphyromonas gingivalis, and Candida albicans among others. A guard worn against your teeth and gums for hours nightly, covered in this film, transfers those organisms back to your oral tissues. The downstream consequences of inadequate cleaning include persistent bad breath, gum irritation, accelerated plaque formation on the teeth the guard contacts, and in some cases oral thrush or soft tissue infection.
The good news is that the solution is simple and takes under two minutes daily. The key is understanding what works and what damages the guard in the process of cleaning it.
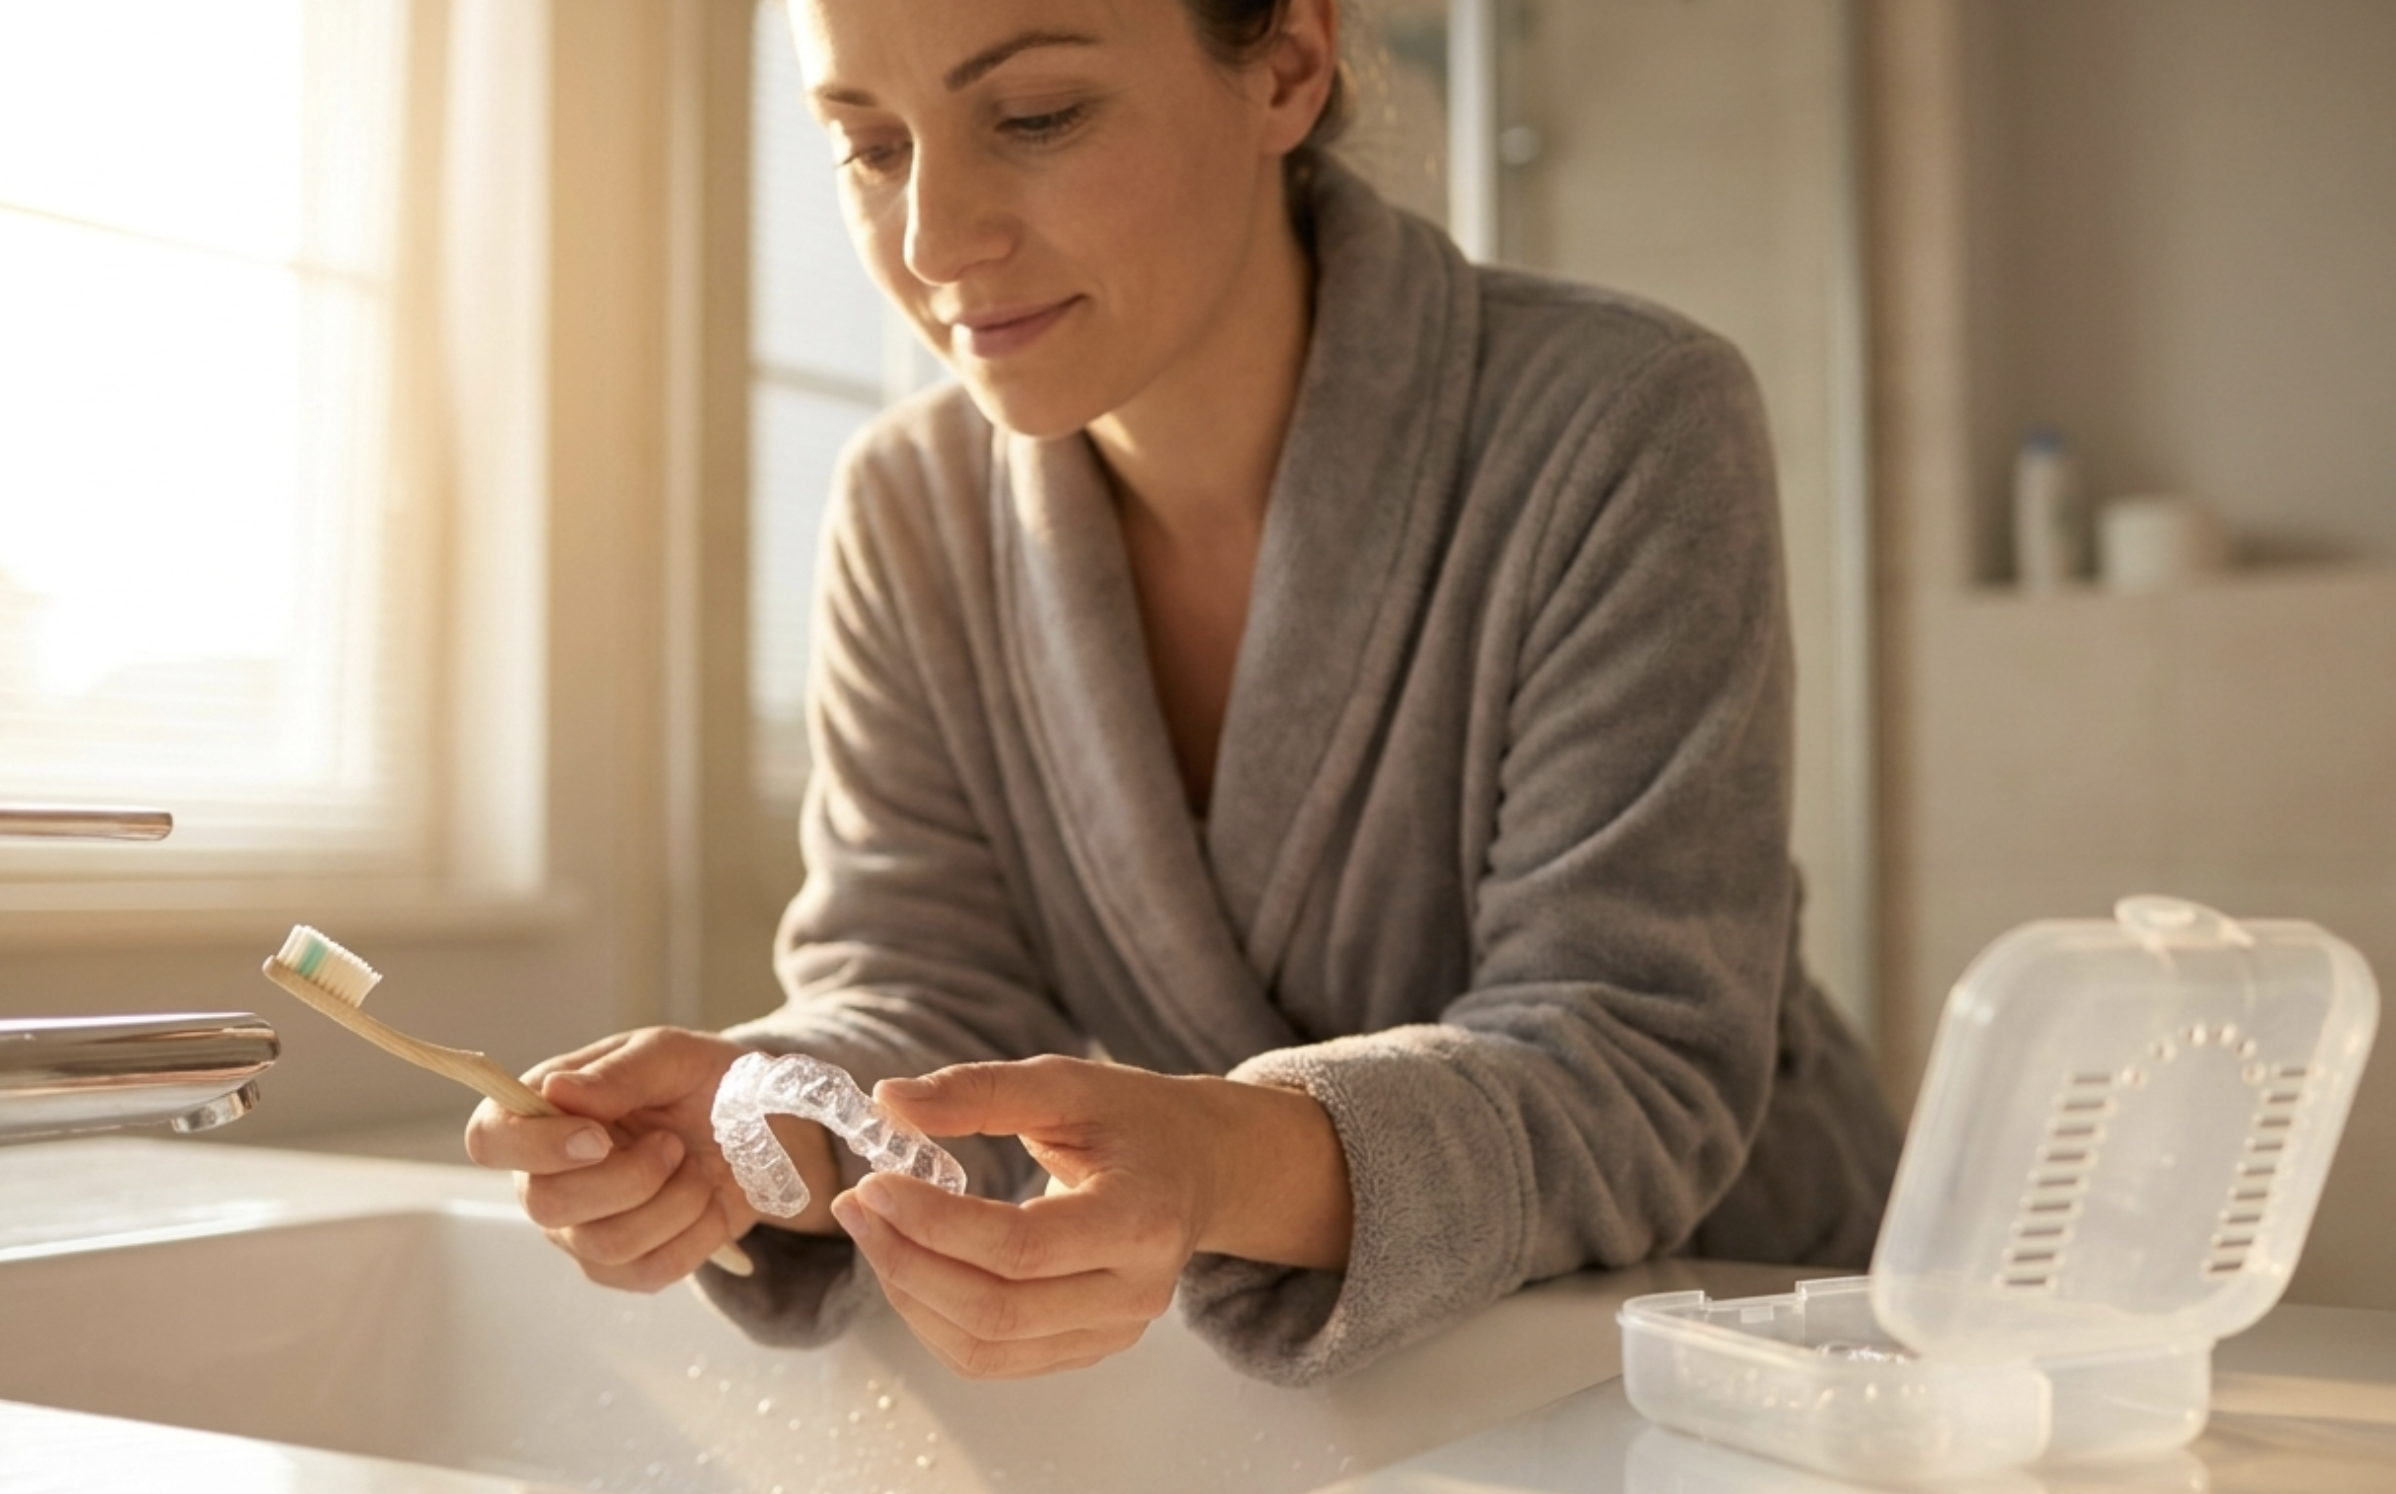
The Daily Routine
This happens every morning, immediately after removing the guard. The word “immediately” matters — dried saliva is harder to remove than fresh, and allowing the guard to sit for hours before cleaning gives biofilm time to mature and adhere more firmly.
Step 1: Rinse under cool water
Hold the guard under a thin stream of cool running water and turn it to rinse all surfaces — including the inner arch and the occlusal grooves. This removes loose saliva and debris before brushing. Use cool water only — hot water is why this step is listed first, because the single most common accidental damage to night guards is warping from hot water.
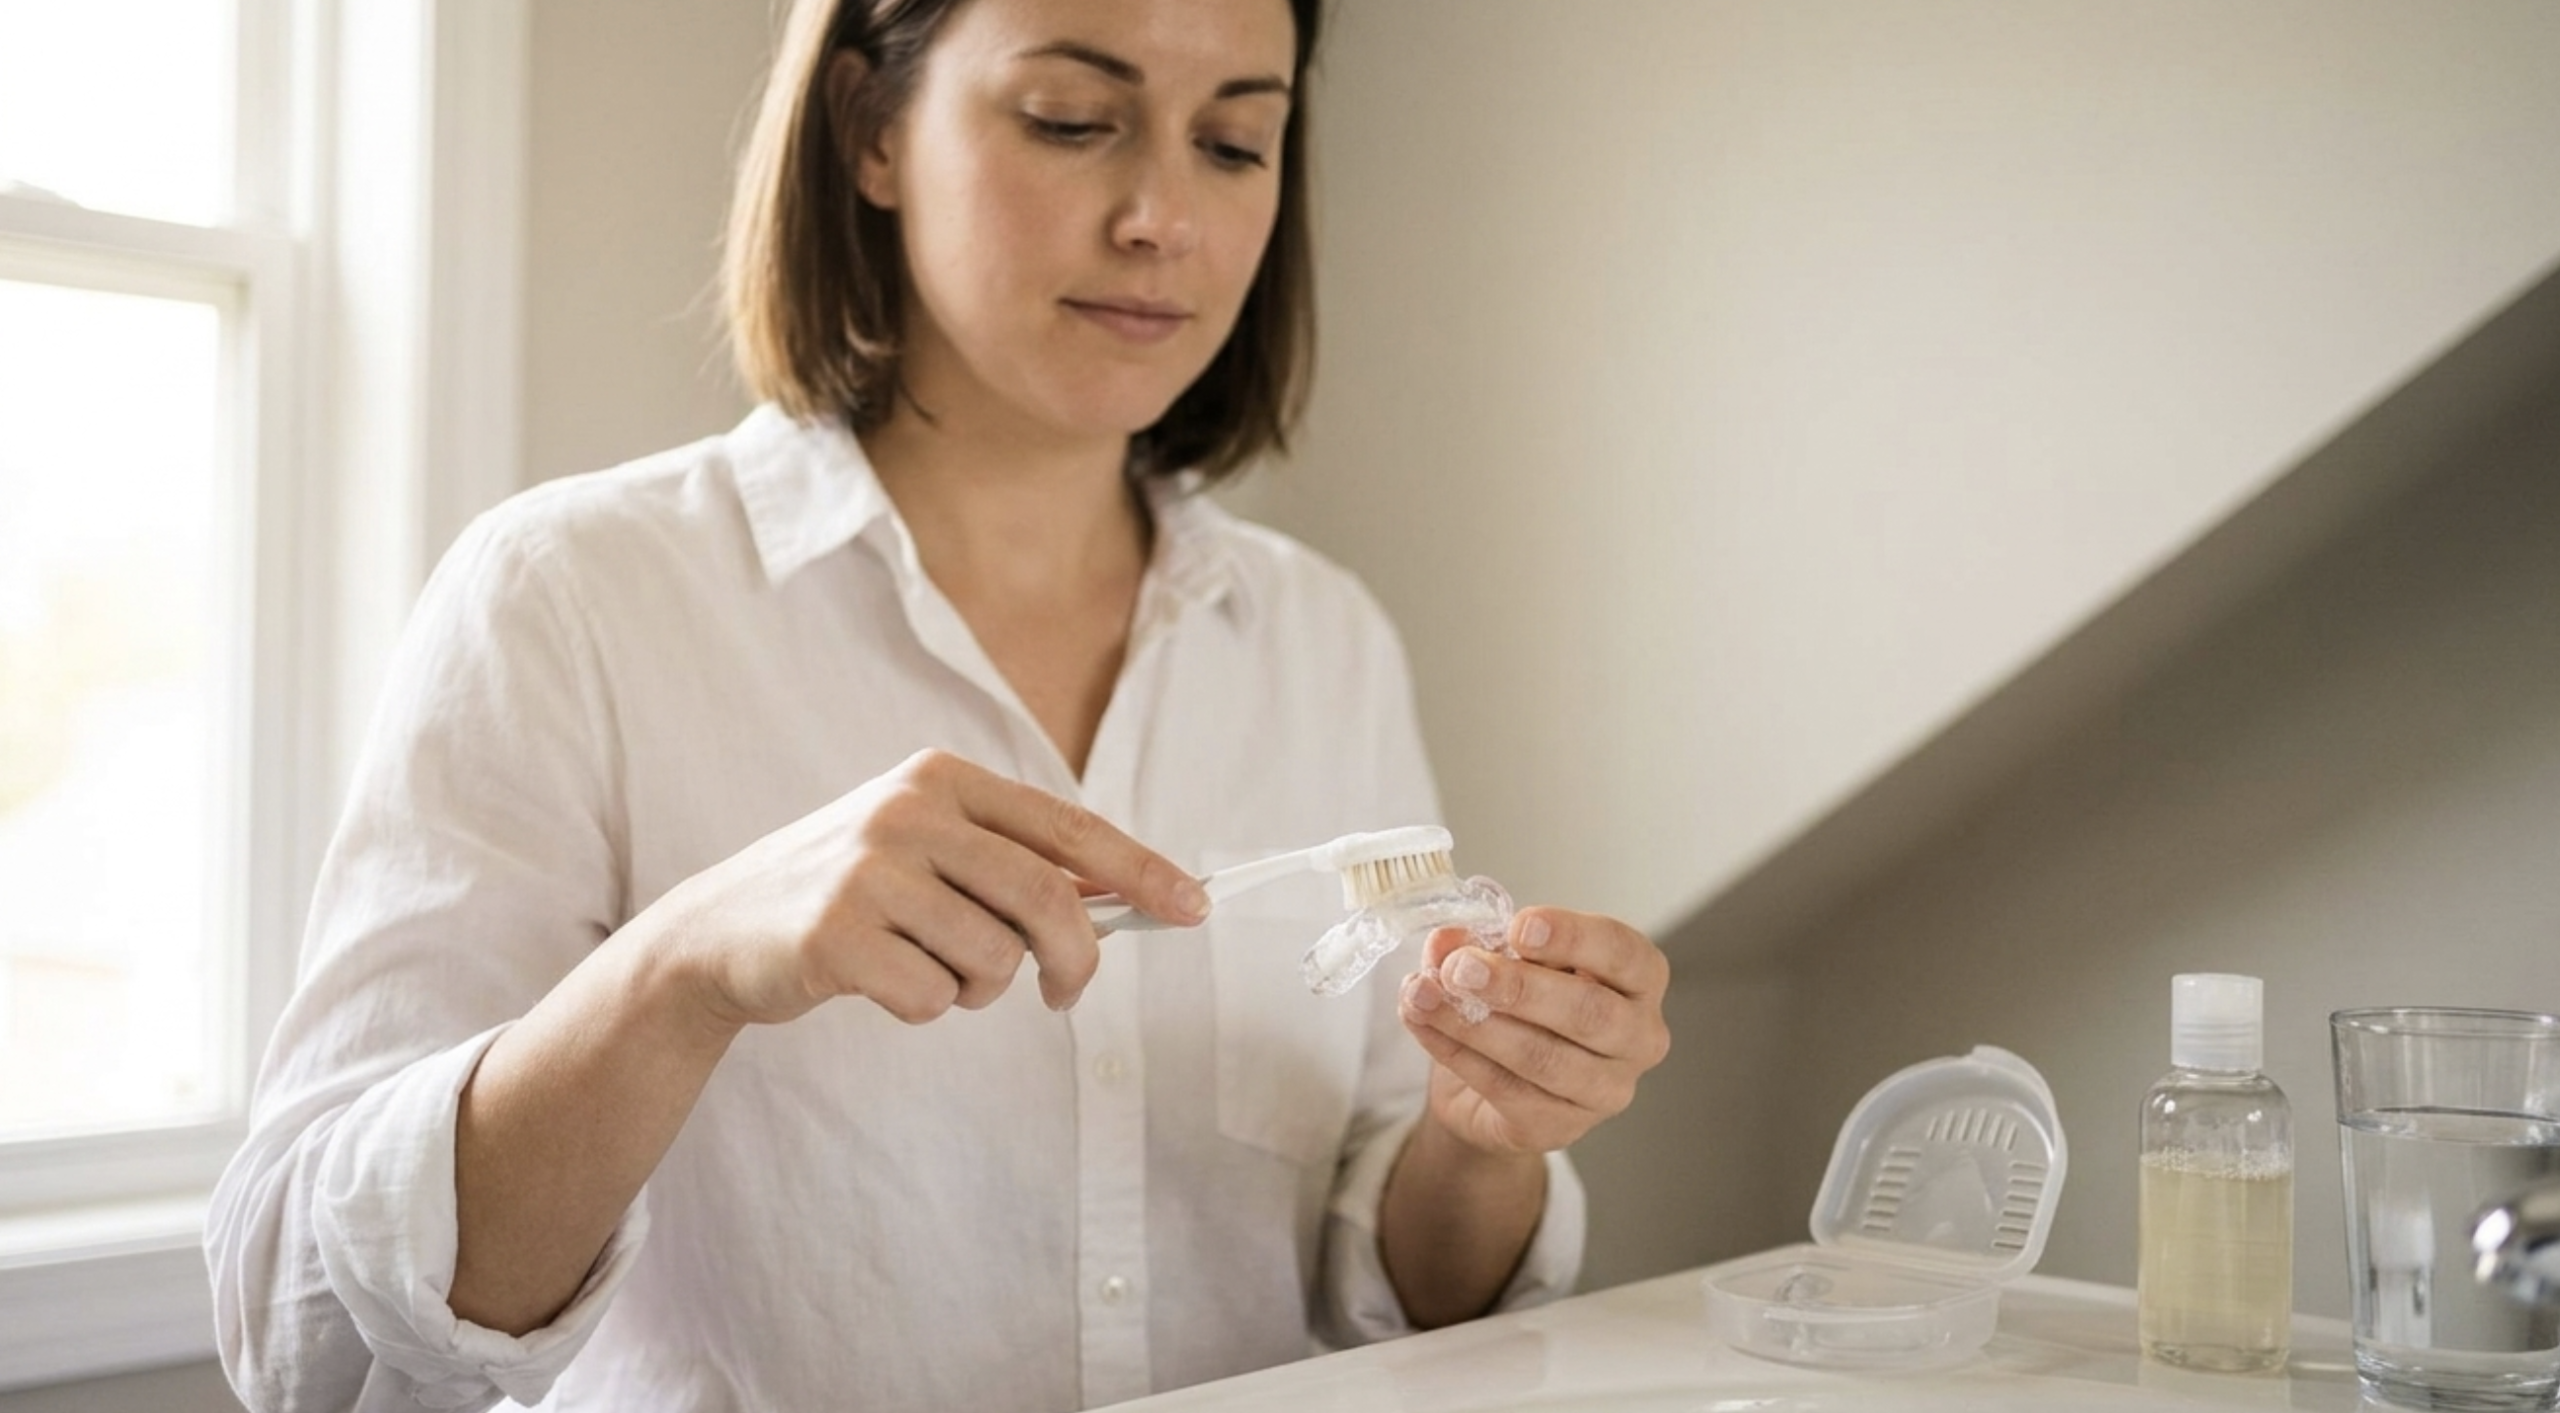
Step 2: Brush with mild soap
Apply a small amount of mild unscented liquid soap to a soft-bristle toothbrush. Brush all surfaces of the guard — outer, inner, the occlusal (biting) surface, and the margins where the guard meets the gum line. The biting surface grooves and the gum margin are where biofilm accumulates most densely and where brushing is most important. Rinse thoroughly after brushing until no soap residue remains.
The toothbrush you use for this can be a dedicated brush or a spare — it doesn’t need to be anything specific. What matters is soft bristles: medium or hard bristles scratch acrylic and thermoplastic, creating additional surface area that accelerates biofilm colonisation.
Step 3: Air-dry before storage
Place the guard on a clean surface — the counter edge, a clean towel — and allow it to air-dry completely before returning it to the case. A damp guard stored in a case creates a warm, enclosed, moist environment: exactly the conditions that promote bacterial and fungal growth. This step is the one most people skip because it requires leaving the guard out for 10–20 minutes. It’s worth the wait.
The Weekly Deep Clean
Daily brushing removes surface bacteria, but established biofilm requires a chemical soak to penetrate and break down. Once a week, soak the guard for 15–30 minutes in one of the following:
Option 1: Dental appliance cleaner tablets
Effervescent tablets designed for retainers and night guards — brands like Retainer Brite, DentaTabs, or generic dental appliance cleaner tablets. Drop the tablet in a glass of cool water with the guard and soak for the indicated time (usually 15 minutes). These are the most convenient option and specifically formulated not to damage appliance materials.
Option 2: White vinegar solution
A 50/50 mix of white vinegar and water. Vinegar’s acidity breaks down calcium deposits and disrupts biofilm without damaging acrylic or thermoplastic. Some people find the smell off-putting — rinsing thoroughly after the soak eliminates any residual taste. This is the most accessible option (no product to buy) and works well.
Option 3: Diluted hydrogen peroxide
Equal parts 3% hydrogen peroxide and water. Effective at penetrating and killing bacteria in established biofilm. Soak for 5–10 minutes only — longer soaking can affect some guard materials. Rinse thoroughly before wearing.
After any soak, rinse the guard thoroughly under cool water and allow it to air-dry before returning to storage.
What NOT to Use — and Why
Most cleaning-related guard damage comes from using products that seem reasonable but aren’t appropriate for dental appliance materials.
Toothpaste — no
This is the most important rule and the most frequently broken. Toothpaste contains abrasive particles — silica, calcium carbonate, aluminium oxide — that are designed to polish enamel. They also scratch acrylic and thermoplastic. Microscopic scratches dramatically increase the surface area available for biofilm colonisation, making the guard progressively harder to clean over time and shortening its lifespan. The soft toothbrush is fine; the toothpaste is the problem. Use mild soap instead.
Hot water — no
Thermoplastic materials (soft guards, boil-and-bite guards, dual-laminate inner layers) soften under heat. Hot tap water is often sufficient to begin warping a soft guard — the same property that makes them mouldable in the first place makes them vulnerable to heat during cleaning. Hard acrylic is more resistant but still susceptible to repeated heat exposure. Always use cool water.
Bleach or chlorine-based cleaners — no
Bleach degrades acrylic and thermoplastic materials, causing them to become brittle, discoloured, and porous over time. A porous material is harder to clean and less effective structurally. Bleach also leaves a chemical residue that is not appropriate for extended oral contact.
Alcohol-containing mouthwash — with caution
A brief 1–2 minute rinse in alcohol-free mouthwash is acceptable. Prolonged soaking in alcohol-containing mouthwash degrades thermoplastic materials — the same mechanism as using any solvent on plastic. If you use mouthwash for cleaning, use an alcohol-free formulation and limit contact time. It is not a substitute for the weekly soak options above, which are more effective without the material risk. For a fuller breakdown of the cleaning options and their effects on different guard materials, the comparative cleaning method guide covers the material-specific considerations.
Boiling — absolutely not
Boiling water warps every guard material including hard acrylic. If your guard has been boiled accidentally, check the fit carefully — a warped guard can create uneven bite contacts that cause jaw problems over time. If the fit has changed noticeably, replace it.
Storage
Correct storage matters almost as much as correct cleaning — a well-cleaned guard stored improperly re-accumulates bacteria quickly.
- Use a ventilated case. The case your guard came in is almost certainly ventilated — small holes or a mesh design that allows airflow. This is deliberate. A sealed case traps moisture and creates the conditions for bacterial and fungal growth despite cleaning.
- Never store a damp guard. This is the rule most people break most often. Allow the guard to air-dry fully before closing it in the case.
- Keep the case clean. Rinse the case every few days and give it a weekly wash with mild soap and water. A clean guard in a dirty case isn’t fully clean.
- Store away from heat and direct sunlight. Heat warps thermoplastic; prolonged UV exposure can degrade some materials and cause discolouration.
- Don’t wrap in tissue or store in a sealed bag. Both trap moisture and create ideal bacterial conditions — and tissue-wrapped guards are frequently confused with rubbish and discarded.
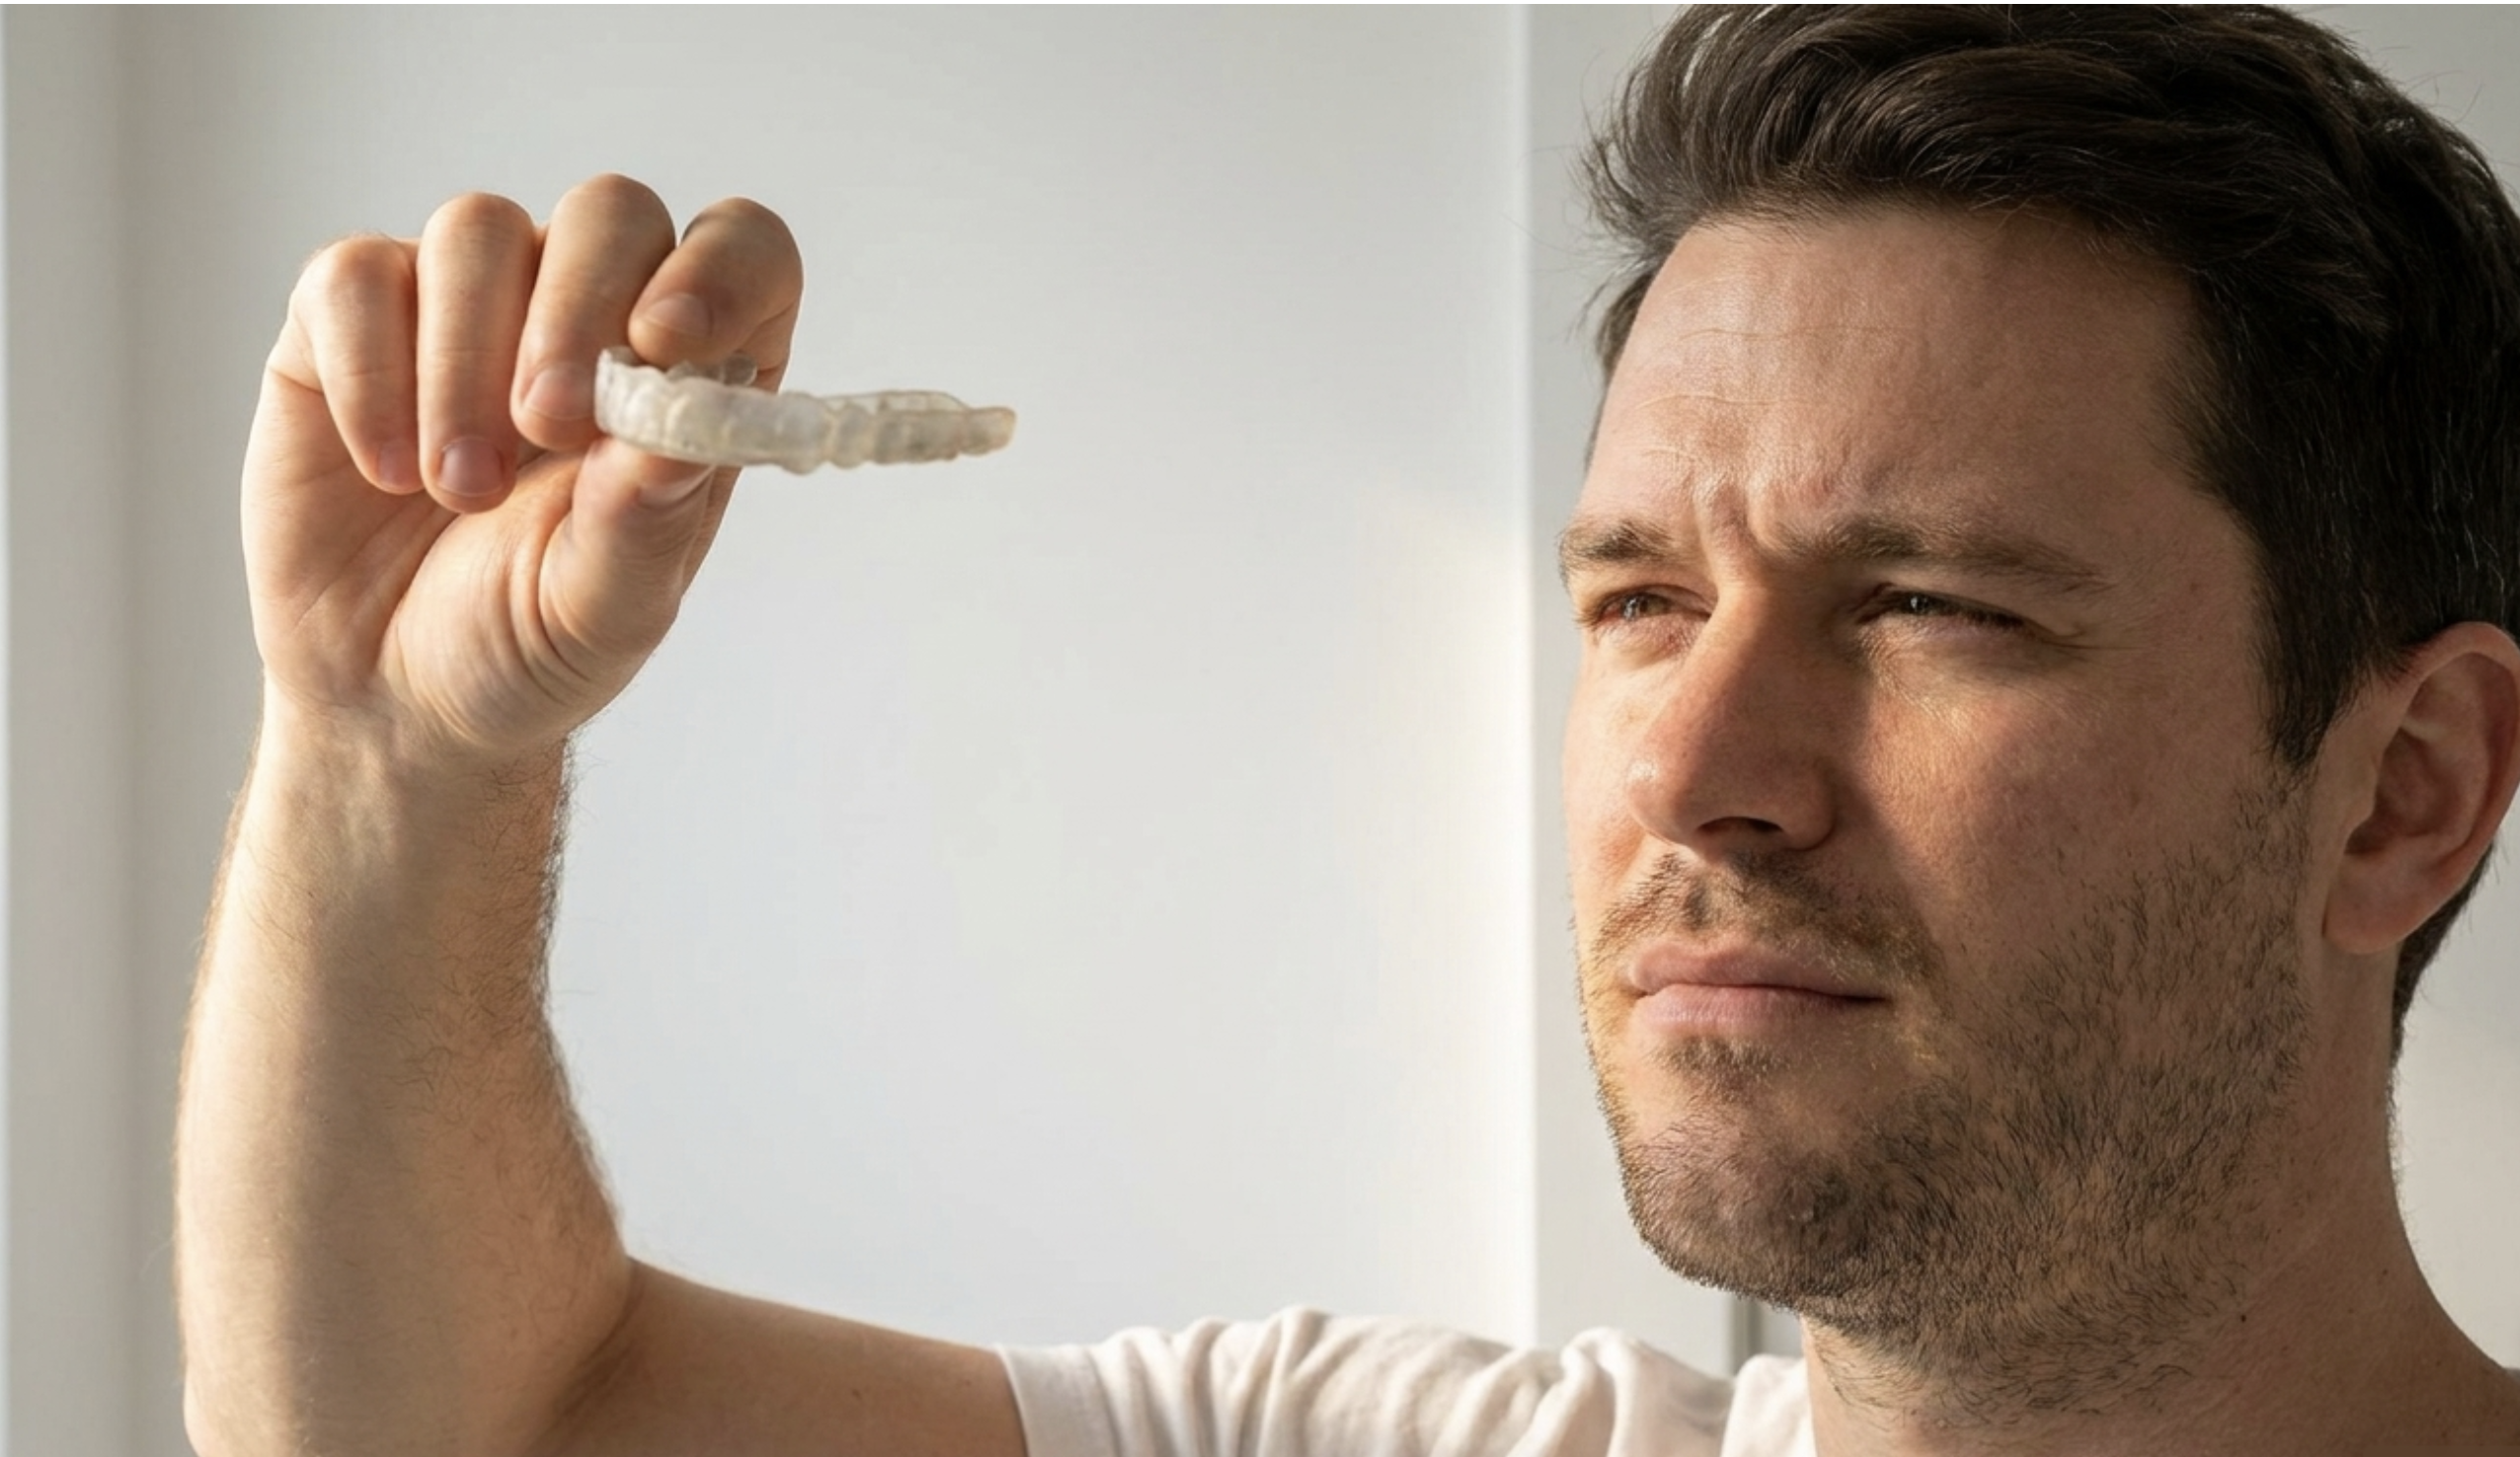
When to Replace
Even a correctly cleaned and stored guard has a finite lifespan. The signals that indicate replacement:
- Visible thinning or perforation in the bite surface. The guard has absorbed the force it was designed to intercept — this is it doing its job. Replace it before it fails completely.
- Structural cracking. A cracked guard has compromised structural integrity and may have sharp edges that can irritate soft tissue.
- Persistent odour despite correct cleaning routine. When a guard smells consistently despite daily soap brushing and weekly soaking, the material has become microporous — small voids in the material surface that harbour bacteria beyond the reach of surface cleaning. At this point, replacement is the only solution.
- Significant discolouration that doesn’t resolve. Some yellowing over time is normal. Persistent staining or opacity that doesn’t improve with cleaning often indicates material degradation.
- Changed fit. If the guard no longer seats firmly on your arch, it has either warped or your dental anatomy has changed (dental work, orthodontics, natural wear). A loose guard doesn’t protect adequately and can create uneven bite contacts.
Expected lifespan with correct care: soft guards 3–12 months, dual-laminate 1–3 years, hard acrylic 2–5 years. Heavy grinders sit at the lower end of each range.
Frequently Asked Questions
Can you get a bacterial infection from a night guard?
Yes — an inadequately cleaned night guard accumulates biofilm containing bacteria including Streptococcus and Staphylococcus species, as well as Candida albicans. The risk is real but entirely avoidable with a daily soap-and-brush routine and weekly soaking. A guard cleaned correctly every day poses no infection risk.
How often should you clean a night guard?
Daily — rinse immediately after removing, brush with mild soap, air-dry before storage. Weekly — soak for 15–30 minutes in dental appliance cleaner tablets, 50/50 water and white vinegar, or diluted hydrogen peroxide to remove biofilm that daily brushing cannot reach.
Can you use toothpaste to clean a night guard?
No. Toothpaste abrasives scratch the guard surface, creating micro-scratches that provide additional surface area for bacteria to colonise — the opposite of what you want. Use mild soap with the same soft toothbrush. The brush is fine; the toothpaste is the problem.
Why does my night guard smell bad?
Odour is almost always established biofilm. Daily brushing removes surface bacteria but doesn’t fully penetrate biofilm that has formed in micro-scratches and grooves. Weekly soaking breaks down this biofilm. If persistent odour continues despite correct daily and weekly cleaning, the material has become microporous and the guard needs replacing.
Can you use mouthwash to clean a night guard?
Brief rinsing with alcohol-free mouthwash is acceptable. Prolonged soaking in alcohol-containing mouthwash degrades thermoplastic and acrylic materials over time, softening the guard and shortening its life. Use dental appliance cleaner tablets or white vinegar solution for weekly soaking instead — they’re more effective and material-safe.